
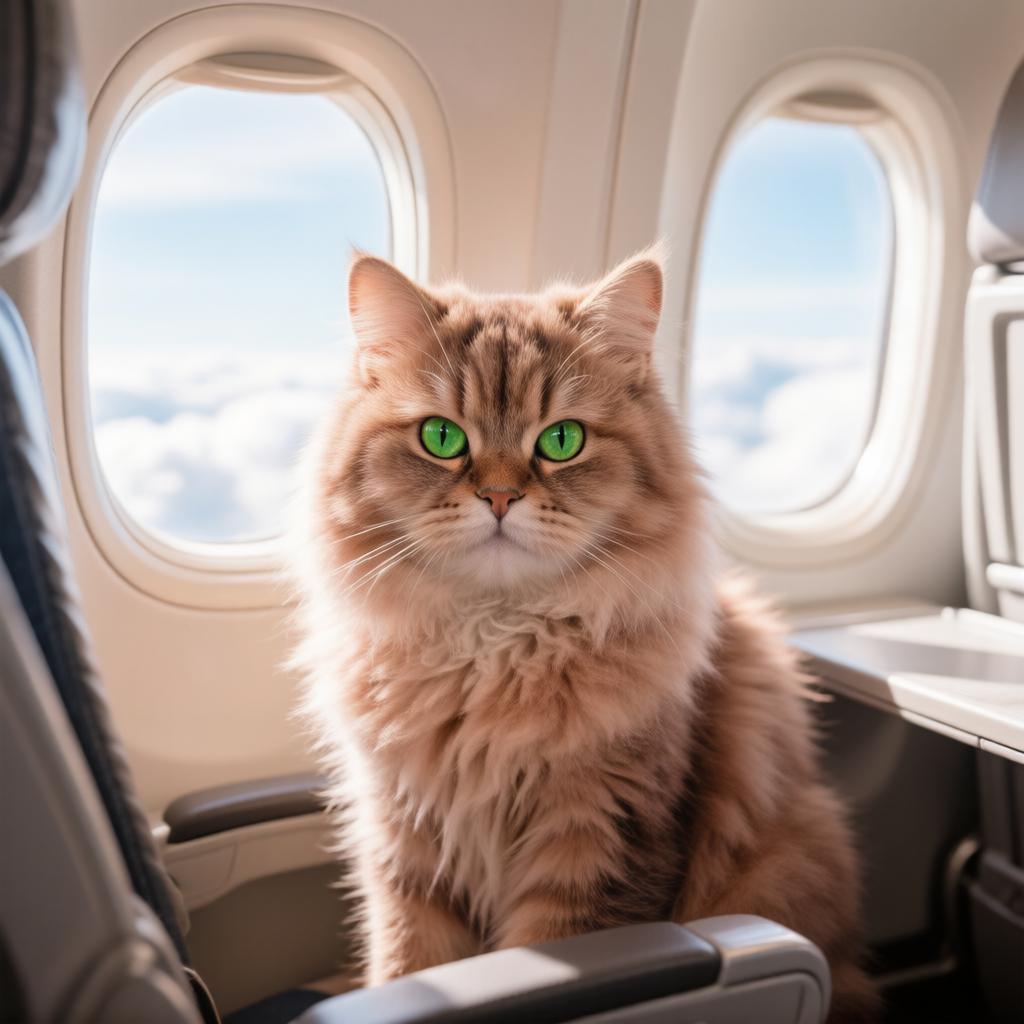
You can fly with a cat on many airlines, usually by bringing your pet in an approved carrier that fits under the seat in front of you. However, airline rules, carrier dimensions, pet fees, and documentation requirements vary, so it’s important to check the airline’s policy before booking. Preparing your cat in advance can also help make the flight safer and less stressful.
Can You Take a Cat on a Plane?
Many U.S. airlines allow cats to travel in the passenger cabin, although restrictions apply. There are two main transportation options:
- In the cabin: Your cat travels with you inside an approved carrier that fits under the seat in front of you.
- As checked baggage or cargo: Some airlines transport pets in designated aircraft compartments or through cargo services, subject to additional requirements.
For smaller cats, cabin travel is generally the more convenient option because the animal stays close to its owner.
However, not every airline accepts pets in the cabin, and some limit the number of animals allowed on each flight. Always confirm availability before purchasing your ticket.
How to Fly With a Cat: 6 Steps
Step 1. Check the Airline’s Pet Policy
Before booking, visit the airline’s website or contact its customer service department to confirm its pet travel requirements.
Check the following details:
- Whether cats are allowed in the passenger cabin;
- Maximum carrier dimensions and weight limits;
- Minimum age requirements for pets;
- Additional pet transportation fees;
- Whether advance reservations are required;
- Restrictions on specific routes or international flights.
According to the Federal Aviation Administration (FAA), airlines determine their own cabin pet policies, provided they follow applicable aviation safety requirements.
Because cabin pet spaces may be limited, arrange your cat’s reservation as early as possible.
Step 2. Choose an Airline-Approved Cat Carrier
Your cat needs a secure, well-ventilated carrier that fits beneath the airplane seat without blocking the aisle.
The carrier should allow your cat to turn around and lie down naturally. It should also have reliable closures and a leak-resistant bottom with an absorbent pad.
Soft-sided carriers are often easier to fit into limited under-seat spaces. Hard-sided carriers provide a more rigid structure but may be less flexible when fitting beneath a seat.
There is no universal carrier size accepted by every airline. Always verify the dimensions permitted for your specific flight and aircraft.
Step 3. Prepare Your Cat Before the Flight
Introduce your cat to its carrier several weeks before traveling, if possible. Leave the carrier open at home with familiar bedding, treats, or a favorite toy inside.
Gradually encourage your cat to spend more time in it. Short practice trips can help the animal become accustomed to movement and unfamiliar surroundings.
Schedule a veterinary appointment to discuss your cat’s health, travel-related stress, and possible motion sickness.
Do not give your cat sedatives or tranquilizers without veterinary guidance. Certain medications can increase breathing or cardiovascular risks during air travel, and some airlines prohibit sedated animals.
Step 4. Prepare Travel Documents
Check which veterinary records your airline and destination require before departure.
Possible documents include:
- Vaccination records;
- A veterinary health certificate, if required;
- Pet identification and microchip information;
- Additional documents for international travel.
For ordinary domestic flights within the United States, there is no single nationwide requirement that every cat must have a veterinary health certificate. Requirements depend on the airline and destination state or territory.
International travel may involve additional vaccinations, tests, health certificates, or entry restrictions.
The USDA APHIS pet travel website provides information about requirements for domestic and international destinations.
Step 5. Go Through TSA Security With Your Cat
Airport security screening requires special attention because cats must be removed from their carriers.
Follow these steps:
- Arrive at the airport early enough to complete check-in and security screening.
- At the checkpoint, remove your cat from its carrier when instructed by TSA officers.
- Place the empty carrier on the conveyor belt for X-ray screening.
- Carry your cat through the screening process while keeping it under control.
- After screening, return your cat to its carrier in a secure area.
Never place your cat inside the X-ray machine. Only the empty carrier should go through the scanner.
A secure harness and leash can help prevent your cat from escaping. If you’re concerned about removing your pet in a crowded checkpoint, request a private screening from TSA.
Additional instructions are available in the TSA travel FAQs.
Step 6. Keep Your Cat Comfortable During the Flight
During the flight, follow the crew’s instructions and keep your cat inside its carrier. Airlines generally require pets to remain enclosed throughout the journey.
The carrier must be properly stowed beneath the seat during taxiing, takeoff, and landing.
Use familiar bedding to help your cat feel more comfortable. Avoid unnecessary handling or opening the carrier in the cabin.
Ask your veterinarian about feeding and hydration before departure, especially for longer flights. Never remove your cat from its carrier during the flight unless specifically instructed by airline personnel.
What Should You Pack When Flying With a Cat?
A small collection of essential supplies can make traveling with your cat easier.
- Airline-approved cat carrier;
- Absorbent pads and spare bedding;
- Small blanket or familiar item;
- Secure harness and leash;
- Pet identification and required documents;
- Food, water, and a portable bowl;
- Cleaning supplies and waste bags;
- Any necessary veterinarian-prescribed medications.
Pack according to the flight’s duration and your airline’s carry-on baggage rules.
How Much Does It Cost to Fly With a Cat?
Most airlines charge an additional fee for transporting a cat in the passenger cabin. The amount depends on the airline, destination, and type of transportation.
International flights and cargo transportation may involve additional charges. You may also need to budget for an approved carrier, veterinary appointments, and required travel documents.
Always check current pet fees directly with your airline before booking.
Common Mistakes to Avoid When Flying With a Cat
Avoid these common problems when preparing for your trip:
- Booking without checking pet policies: Your airline might not accept cats on your chosen flight.
- Using an unsuitable carrier: An oversized carrier may not fit beneath the seat.
- Skipping carrier training: An unfamiliar carrier can increase your cat’s stress.
- Giving unapproved sedatives: Medication without veterinary guidance can create health risks.
- Forgetting documents: Missing paperwork may prevent your cat from traveling.
- Letting your cat out unsecured: Airports contain unfamiliar noises and opportunities for escape.
Flying with a cat requires advance planning, but the process is manageable when you understand airline policies, prepare the right carrier, and follow TSA procedures. Confirm all requirements before departure and prioritize your cat’s comfort and safety throughout the journey.